Image One
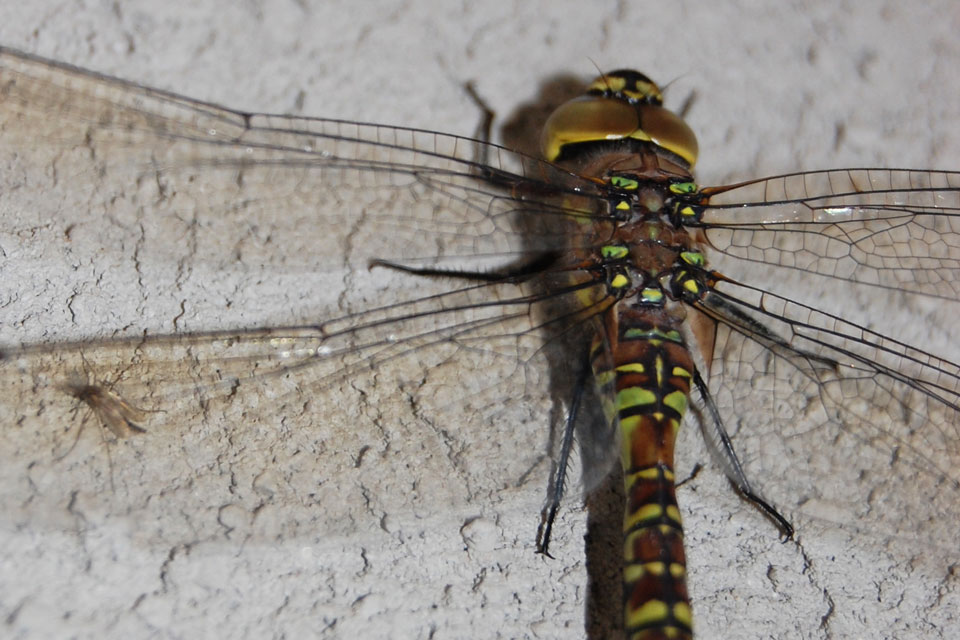 Image © Brittney Bassett, 2010
Image Two
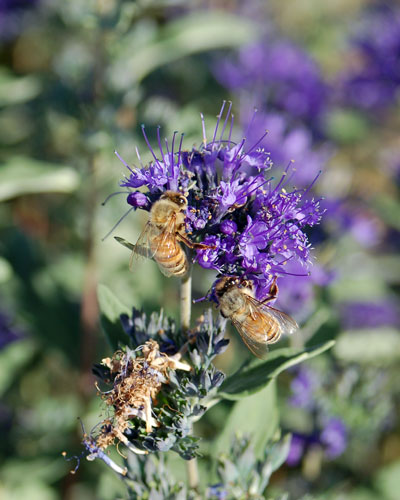 Image © Brian Westfall, 2010
Image Three
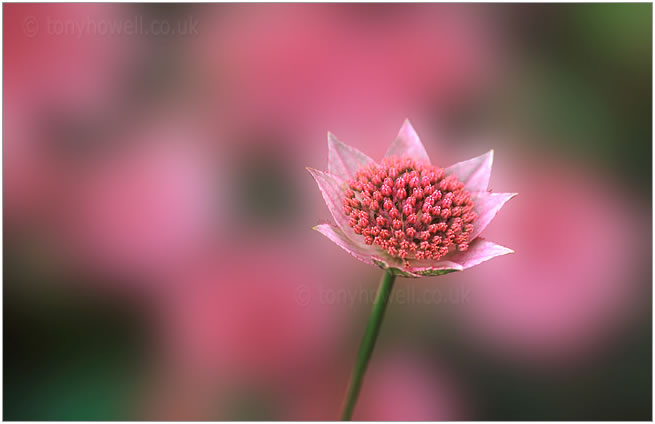
Image Four
Image Five
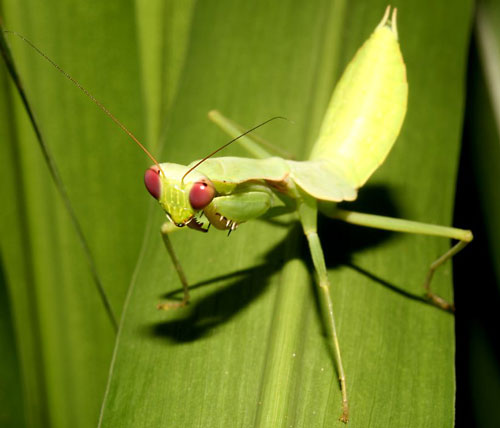
Rule One
Unless you have a very well behaved insect, or next to no breeze moving your flowers and plants, you will want a fairly high shutter speed.Rule Two
With a very high shutter speed (unless you have extremely bright light) you will need a low aperture (f-stop) to compensate so you will have the correct light metering.Rule Three
With a low aperture you will have a shallow depth of field, meaning you will have a very short range of what is in focus. Thus you will want to focus solely on the object you are interested in capturing.Rule Four
Especially if photographing insects, you will want to make sure you have no flash so you have a chance for more than one photo without scaring the subject away.
More Tips
Get up early - before the sun heats up the land there is usually far less wind, enabling you to get close without risk of your 'daffodils dancing in the breeze', causing blur. Also, there is often dew on the plants (or frost in winter), which can add another dimension to your picturesDon't take flower pictures in direct sunlight - this is the most common mistake that beginners make. Plants look great in the sun with the naked eye, but neither film or digital can cope with the increased contrast. Overcast conditions are usually best, colours then saturate and your pictures will still look really bright, but even more colourful. There are exceptions to this though - for example, sunlight can create dark shadows behind your sunlit subject, creating an excellent non-distracting background. If you are going to take plant pictures in sunlight, try using a polarising filter to reduce glare and enhance the colours.
Use Lower ISO settings on your Digital Camera - To get the lowest noise, most digital cameras work best at ISO100, so use this setting and a tripod for best results. You don't want to take a great image, only to find the noise unacceptable - especially if you want to try and sell your images, or get them published
Get a 1:1 Macro lens - if you want to get close, to really show the amazing form of plants in their full glory, you need the right lens for the job. The Tamron 90mm is an excellent lens that comes highly recommended and fits most SLR's. I've used one for many years
Use a tripod - getting close increases the chance of camera shake, so it's best to use a tripod whenever possible. It also slows down the picture-taking process, which means you have more time to concentrate on the composition
Ignore the 'everything must be pin-sharp' rule - you may have read in photo magazines that all close-up pictures must be pin-sharp. Hopefully you'll have noticed by looking at some of the photos on display here, that plant images can often look really good with only a small amount of the image actually in focus. Obviously, some pictures do look better sharp all over - experiment and practice
Blur your backgrounds - use a large aperture (small number like f5.6) to avoid
fussy, distracting backgrounds. The Kaffir Lily pictures below prove the point. However, using your camera's depth of field preview feature is the best way to ensure that you've blurred the background - and still got enough of the plant in focus
________________________________________
*Most of the images to the left were taken with a long zoom lens, or a macro len.
**If you look to some of the photos at the left, the conditions will be described below:
Image One
This image actually breaks rule one and four; it was a well behaved dragonfly so a flash is used because this was in a completely shaded area. But there still was a fairly high shutter speed, so the aperture is even lower because of the shade.This resulted in having a very select focus range, which you can see on the image. The back of the dragonfly where the wings connect, up to the lower part of the head plus the top section of the wings are all that is in sharp focus. Everything else falls out because of the low light, low aperture, and high shutter.
